However, you cannot rule out the fact that it could also be a hardware issue. Thankfully, this guide is here to help you. Notably, in this guide, we will show you how you can quickly fix Windows 11 keyboard backlight not working issue. A simple tweak to the settings could also light up your keyboard from the darkness. With that said, let us jump straight into the article.
1. Restart Your PC
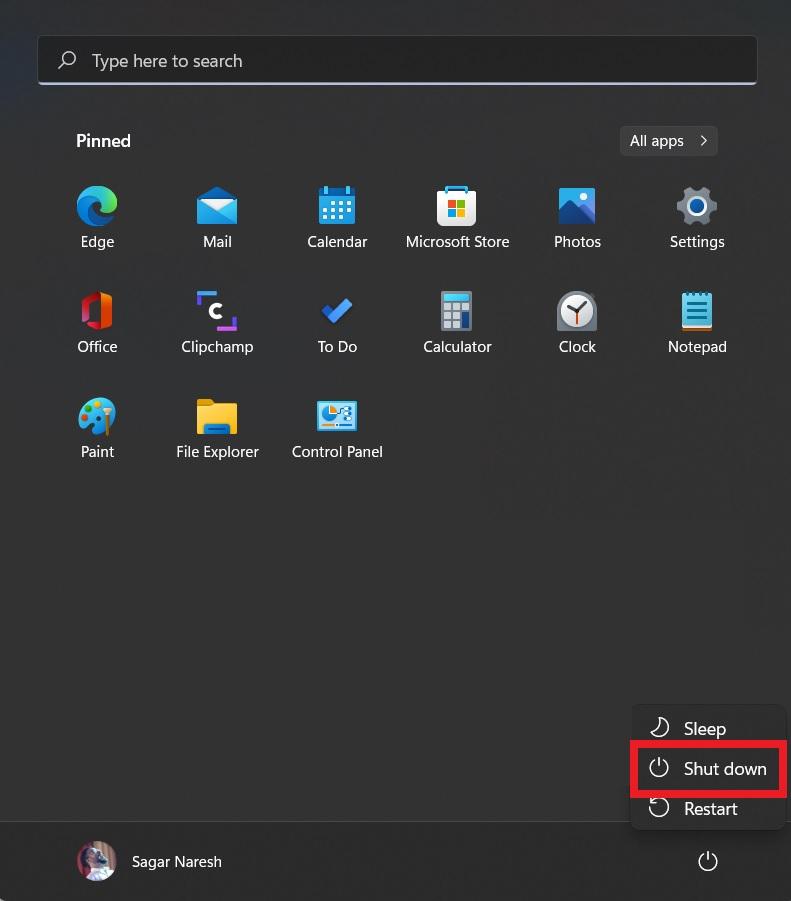
Well, the most straightforward fix that you can apply to solve the keyboard backlight problem is to restart your PC. Sometimes, essential system files required to light up your keyboard may fail to load, and this may result in the keyboard not lighting up. The first thing that you should do is simply shut down your PC, wait for about 10 seconds, and hit the Power button. Let the PC turn on smoothly and then check if the lights are working or not.
2. Press Keyboard Shortcut
Another exciting thing to look out for is to check if you enabled the keyboard lighting using the available keyboard shortcut or not. Usually, the keyboard light option is located at one of the function keys on top of the numerical keys. However, in some laptops, it works in combination with the Fn key located beside the Windows key on your keyboard. Check the combination to turn on the keyboard light for your laptop brand by making a simple Google search.
3. Enable Backlight in Control Panel
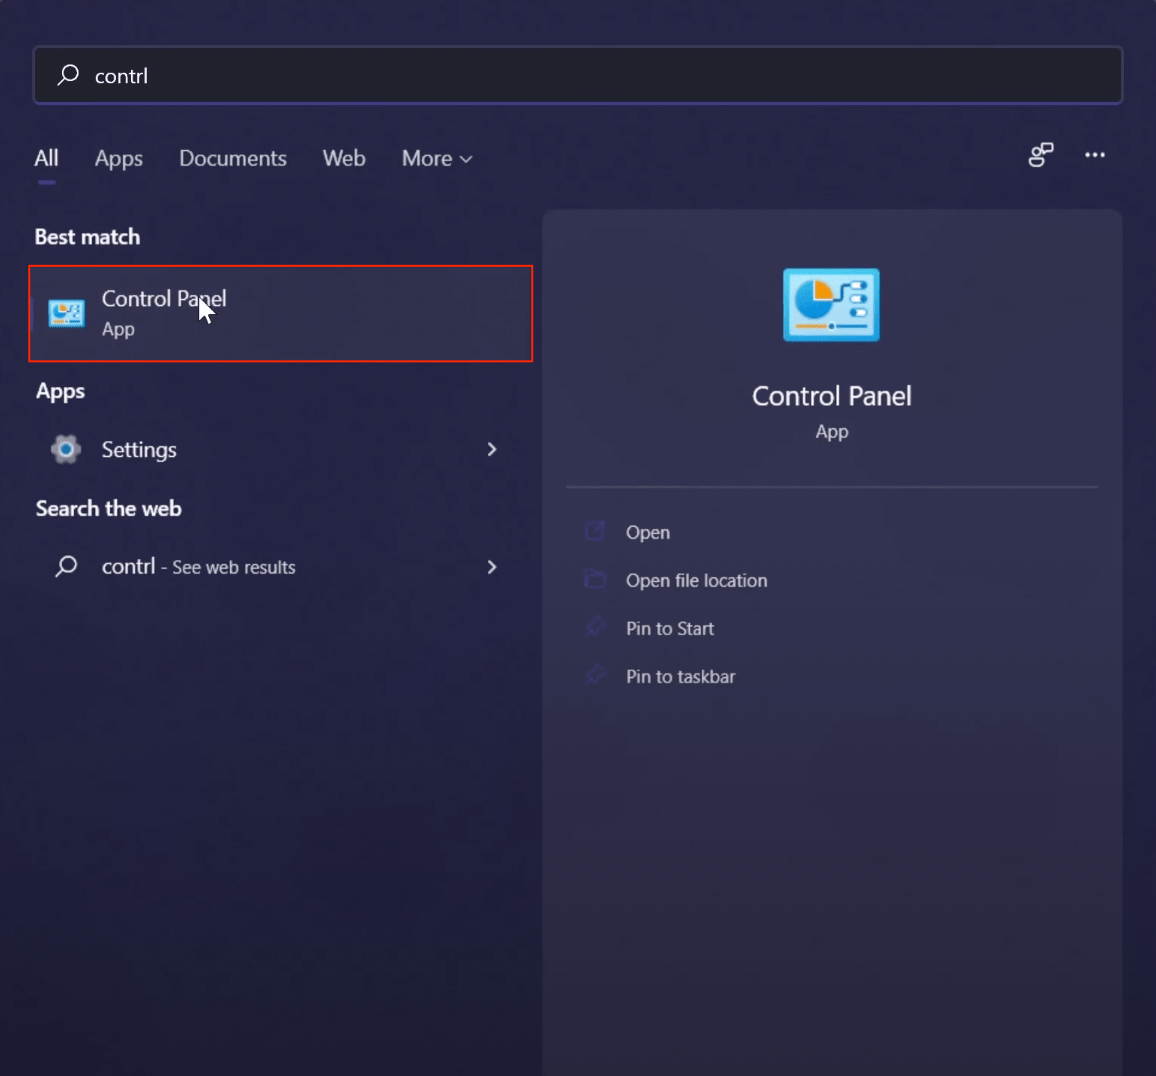
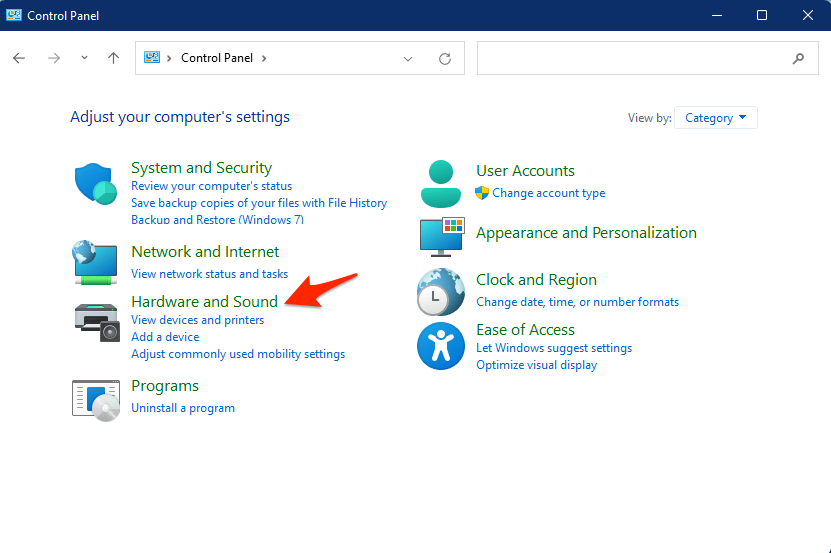
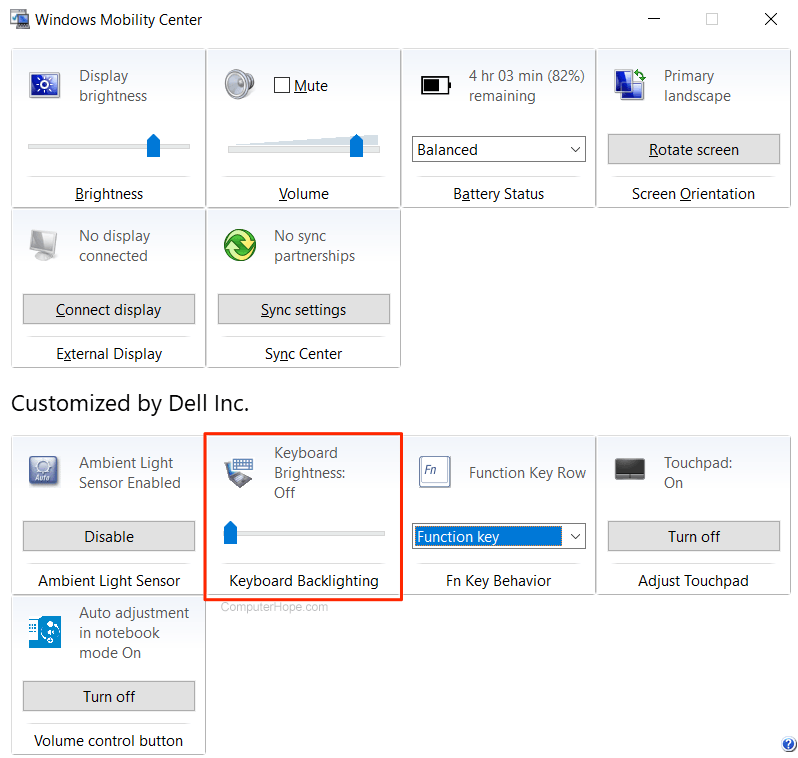
You can also look for Keywbaord illumination from Windows 11 Control Panel.
4. Enable Keyboard Illumination in BIOS
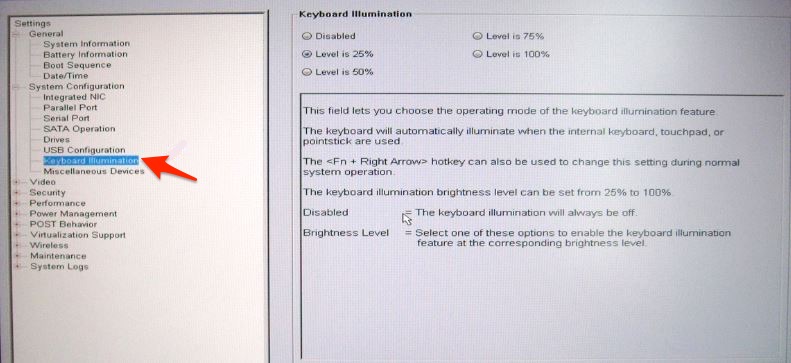
One of BIOS’s significant functions is to manage data flow between the operating system and the hardware such as hard disk, mouse, keyboard, and the likes. You need to access the BIOS to make changes to the settings. You can use this guide to use BIOS settings on your Windows 11. Once in BIOS, look for System Configuration, here click on Select Keyboard Illumination, and enable the Keyboard Light.
5. Remove Third-Party Software
Out of curiosity, you could have made a Google search about modifying the keyboard backlight. And in this process, you might have downloaded modified software. This software could very well be the reason behind the keyboard backlight not working correctly. It is highly recommended that you make use of the official software that comes preloaded with your PC to change the lighting conditions of your keyboard and avoid using any third-party software.
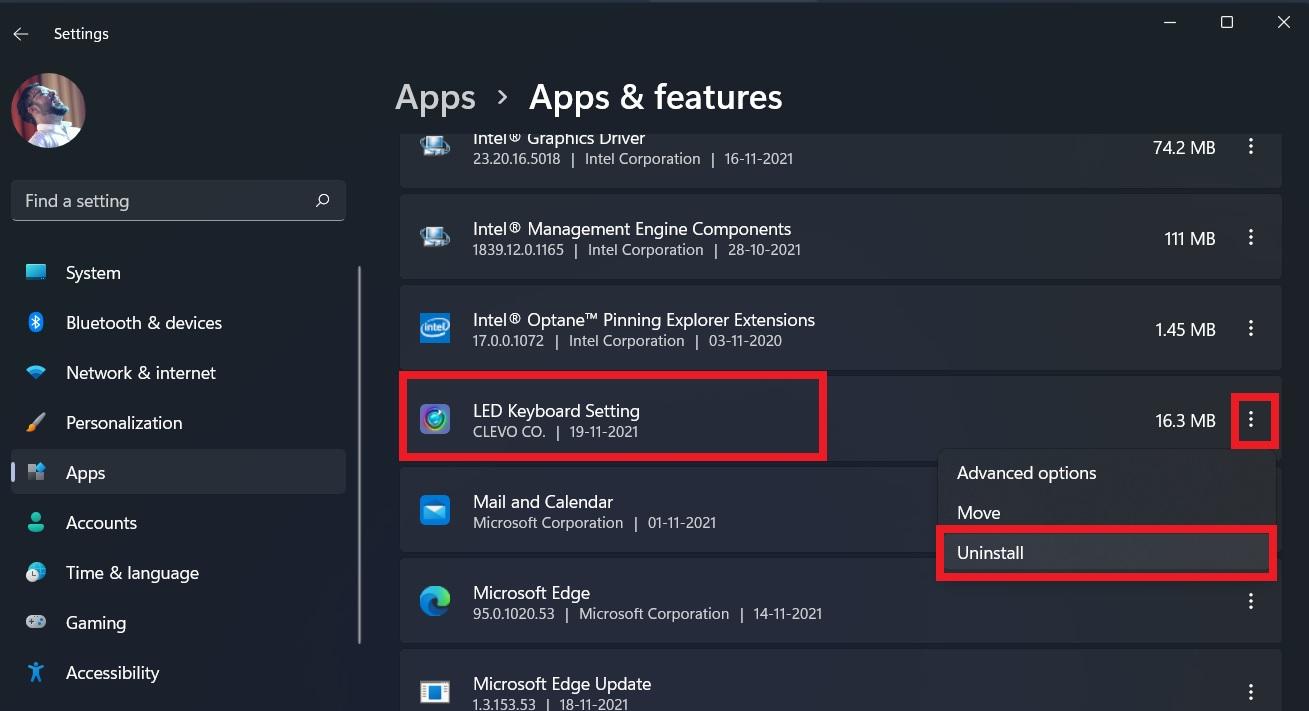
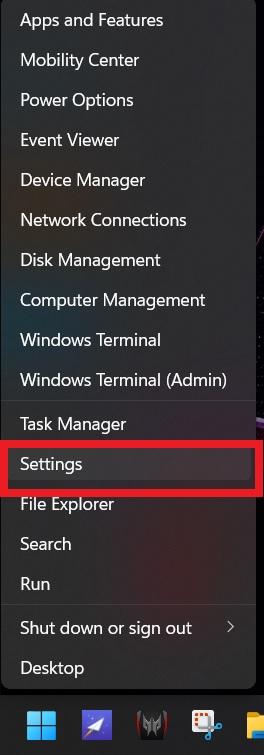
Almost all of them are gimmicks and actually will cause issues with the keyboard lighting. In such cases, immediately remove such software from your PC. You can remove the program by heading over to Settings > Apps > Apps & features. Click on the software and hit the Uninstall button.
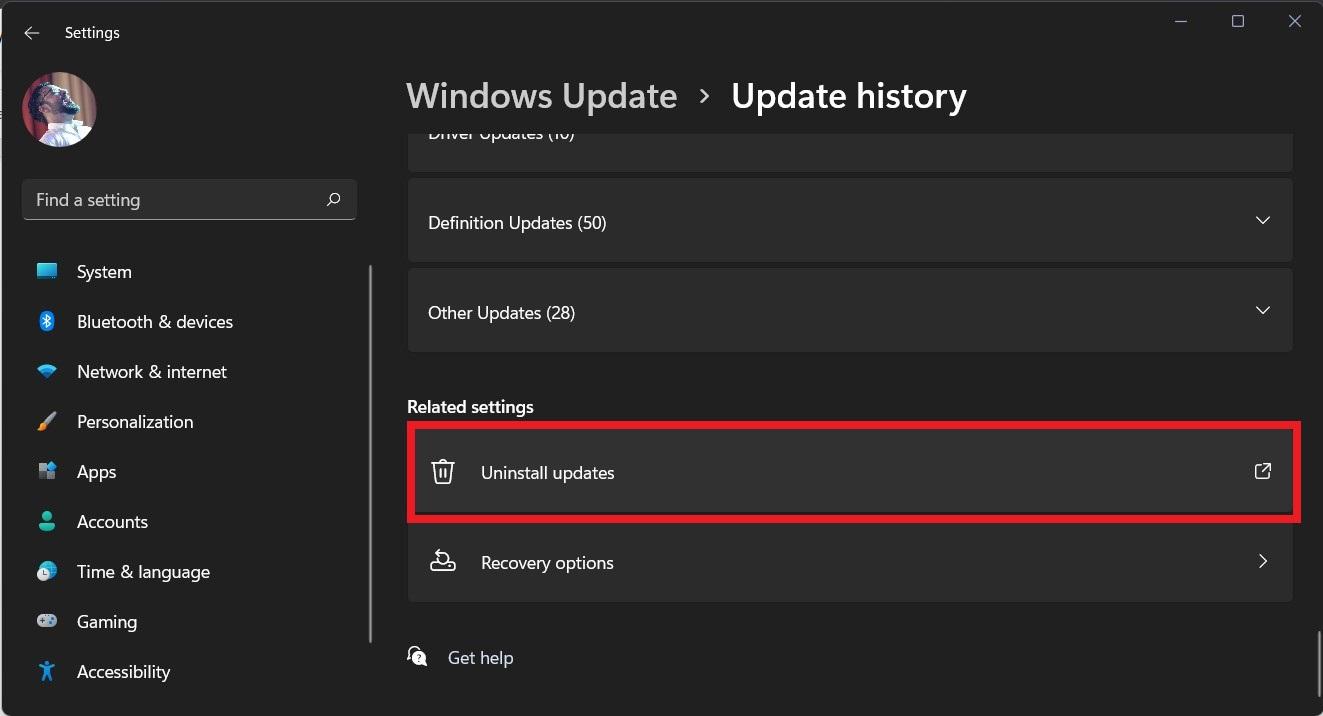
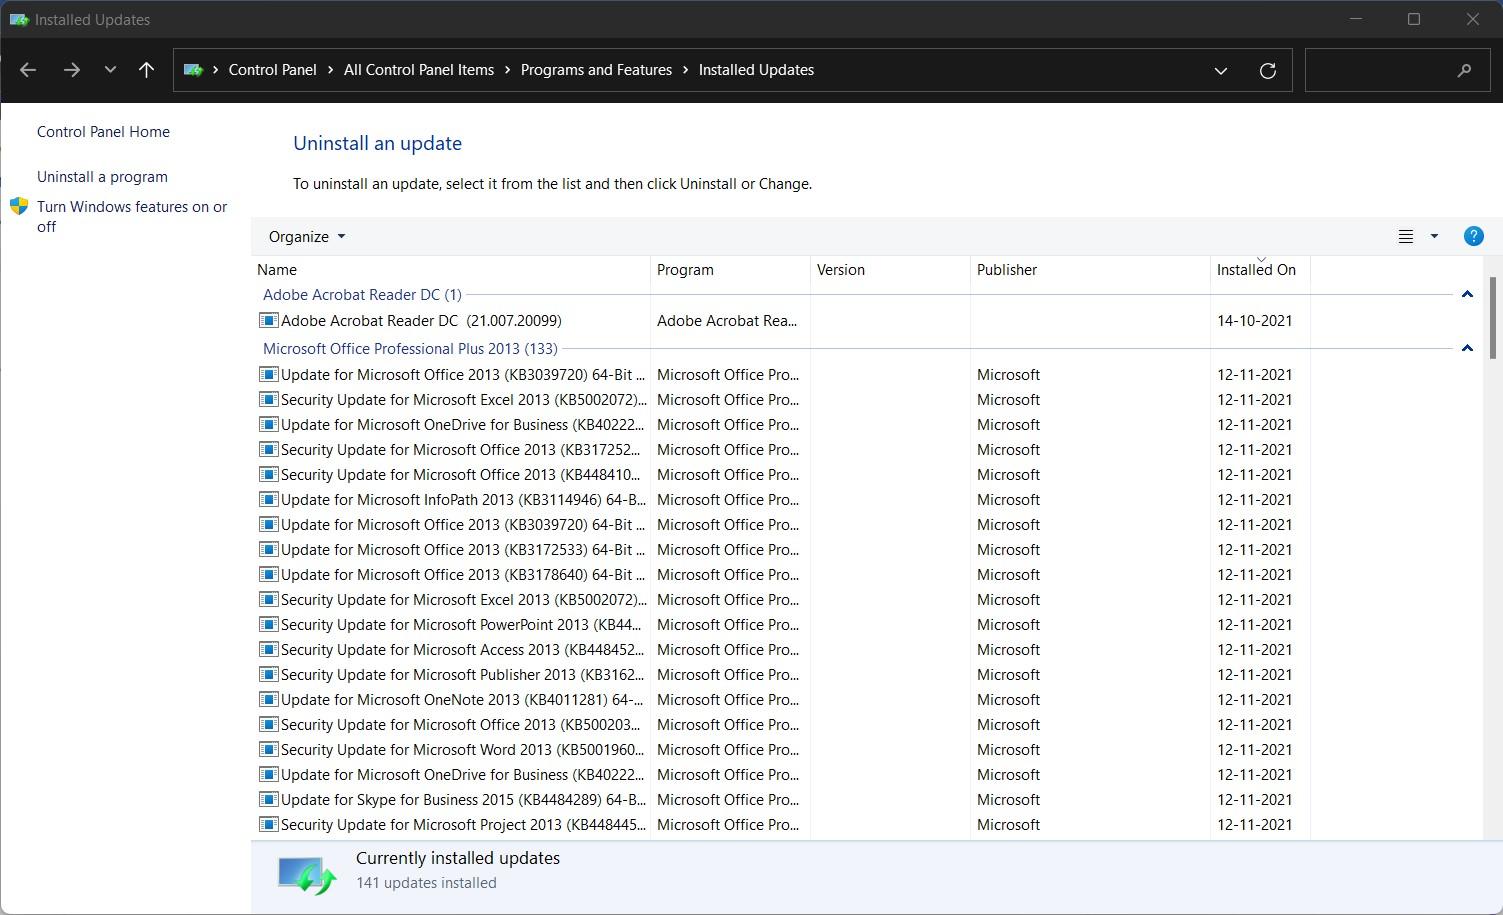
6. Uninstall Latest Windows Update
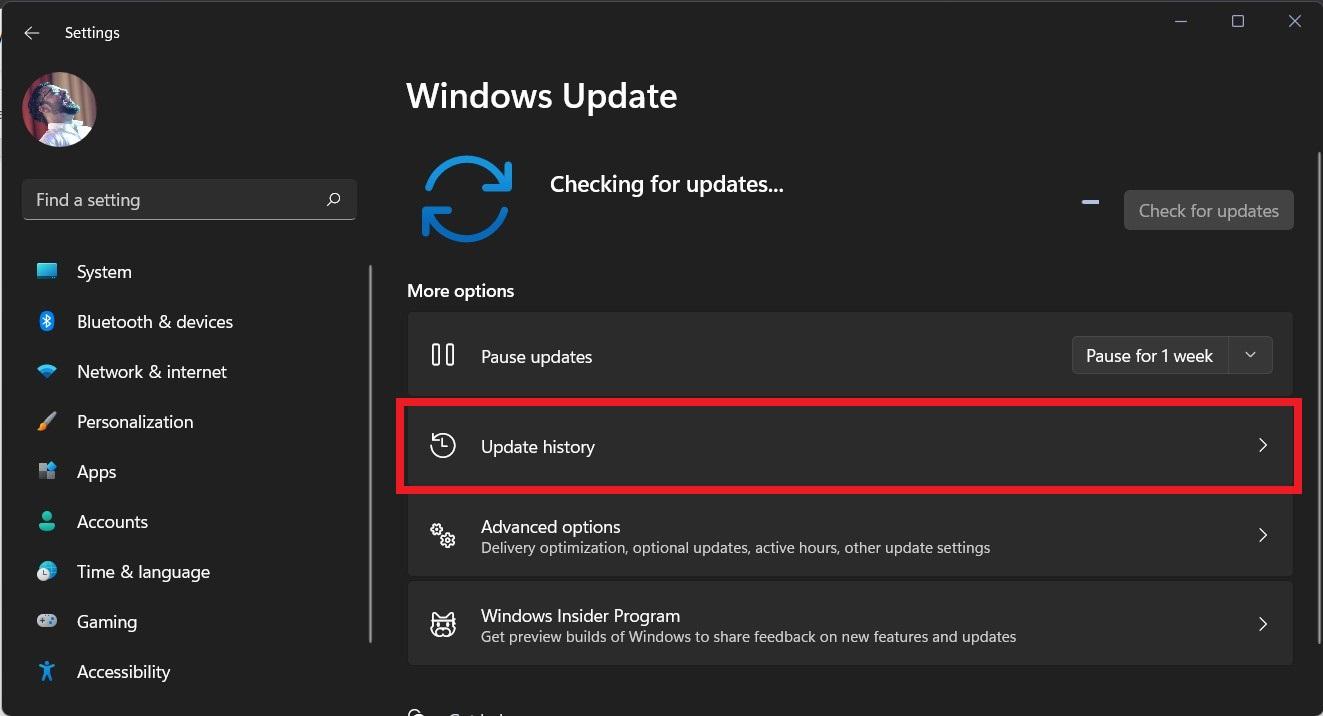
Windows Updates are also the main culprits behind several issues. If you have recently updated your Windows 11 PC or laptop and are facing the keyboard backlight not working soon after, you should uninstall the latest Windows update you have installed. In order to uninstall an update, follow the steps below.
7. Check Hardware Fault
Apart from software issues, keyboard backlight issues can also arise due to a hardware fault. There is a chance that your PC’s keyboard’s communication ribbon is damaged and cannot send signals to your keyboard, resulting in faulty keyboard lighting. If this is the case, then we would recommend you to get your PC services at an authorized service station and get the parts replaced if damaged. If you’ve any thoughts on How to Fix Keyboard Illumination Not Working in Windows 11, then feel free to drop in below comment box. Also, please subscribe to our DigitBin YouTube channel for videos tutorials. Cheers!
How to Fix Microsoft Word Dictation Tool Not Working on Windows 11? How to Fix Windows 11 Update Get Stuck in 100% Screen? How to Fix Airplane Mode Grayed Out on Windows 11?
Comment * Name * Email *

