You can create an HTML sitemap on Blogger blogs which can also sort posts in different ways. This HTML sitemap shows blog posts in chronological order, i.e., newest first, but not limited to this feature only. Blog readers can click the headings Post title, Date of publishing, and labels to sort blog posts as per their choice.
Steps to Create An HTML Sitemap Page in Blogger
Step 1. Create A Blog Page
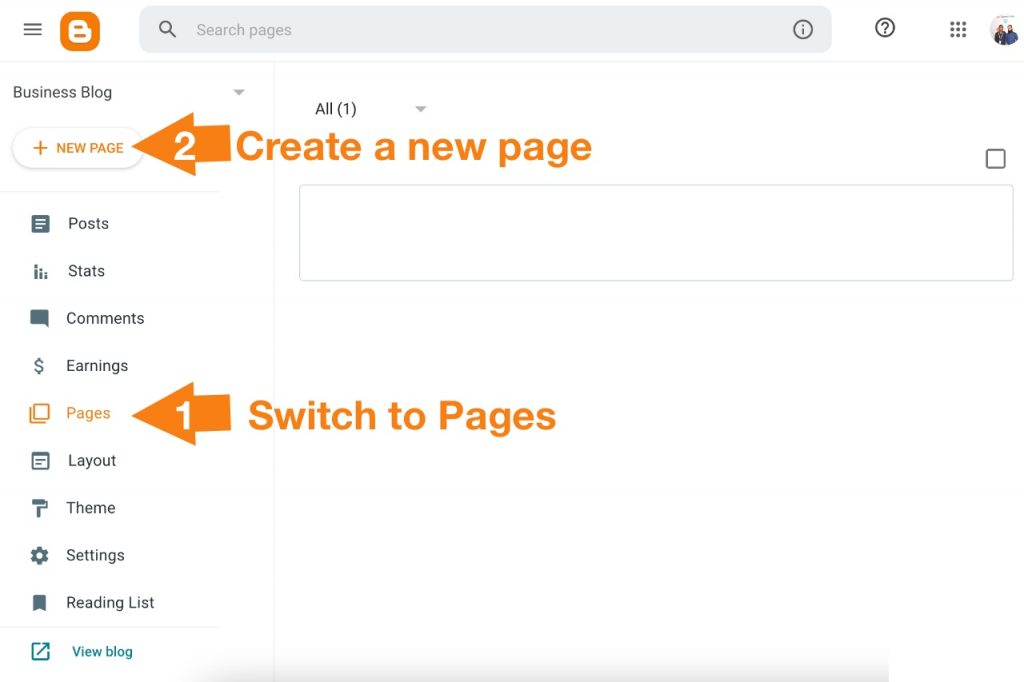
Open the Blogger dashboard, navigate to the Pages menu given on the left sidebar, and click on the New Page button. Enter the title of the HTML Sitemap page. You may keep it Site Map, Table of Content, or any other suitable title.
Next, switch to HTML view, and copy & paste the given HTML sitemap code on the page. HTML Sitemap Code Warning: Don’t publish this code using the Compose view. Otherwise, it will not work.
You can disable comments on the sitemap page. This option is given under the Options menu given on the right sidebar. The final step, publish the page.
Step 2. Add HTML Sitemap Page to the Main Menu
You need to add this HTML sitemap to the perfect location, where your readers can access it easily. You can place it on the main menu, sidebar, or footer. We are adding this page to the main for easy access. Navigate to the Layout menu given on the left sidebar. There you can add the Pages gadget where you want. We are adding the Pages gadget to the page list (top).
Click on the Edit pencil. A pop-up box will open, you see the created “HTML Sitemap” page. Tick the check box to add this to the main menu.
It appears on your blog like this.
I believe you and your readers will get benefited from this HTML sitemap. Don’t forget to share this post with your blogger friends.

